Most people do not have the same sense of direction as animals do. Birds, butterflies, and other insects can travel long distances relying on their natural ability to know where they are and where they’re heading. Humans would lose their way without maps, compasses, and modern navigation tools.
Before the development of compasses, explorers looked to Polaris, the North Star to get a sense of direction. They also used the prevailing winds and ocean currents for guidance. While on land, explorers often had to rely on hand-drawn sketches that featured crudely drawn landmarks, as well as the tales of other travelers.
Then came the compass. Compass technology continues to advance today. The first compasses were named sun compasses and used the sun, rather than Polaris, to get their bearings. They also navigated by landmarks rather than true north.
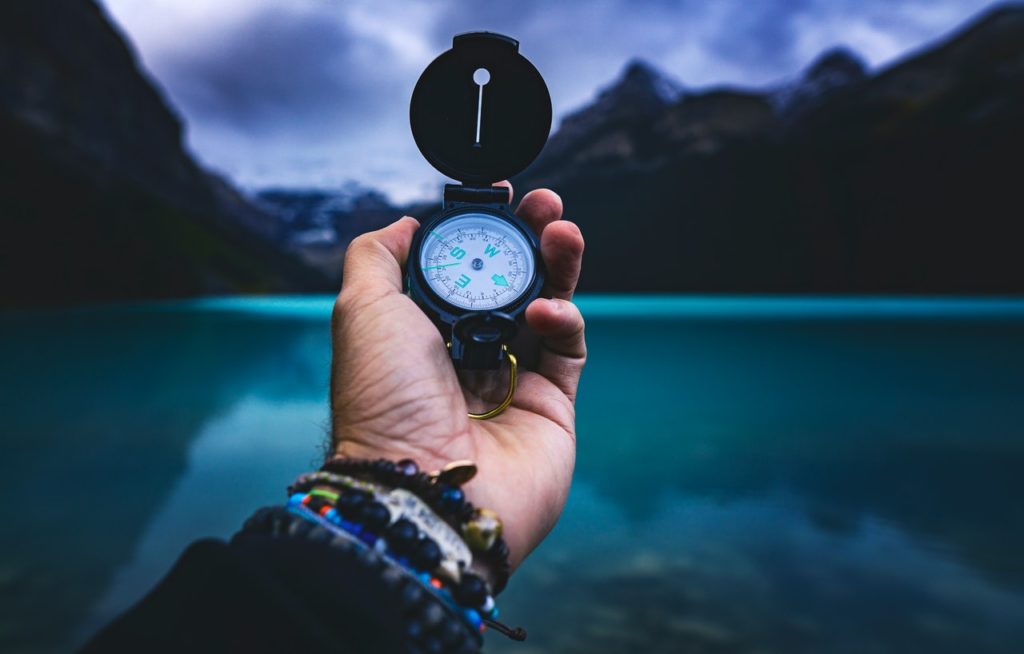
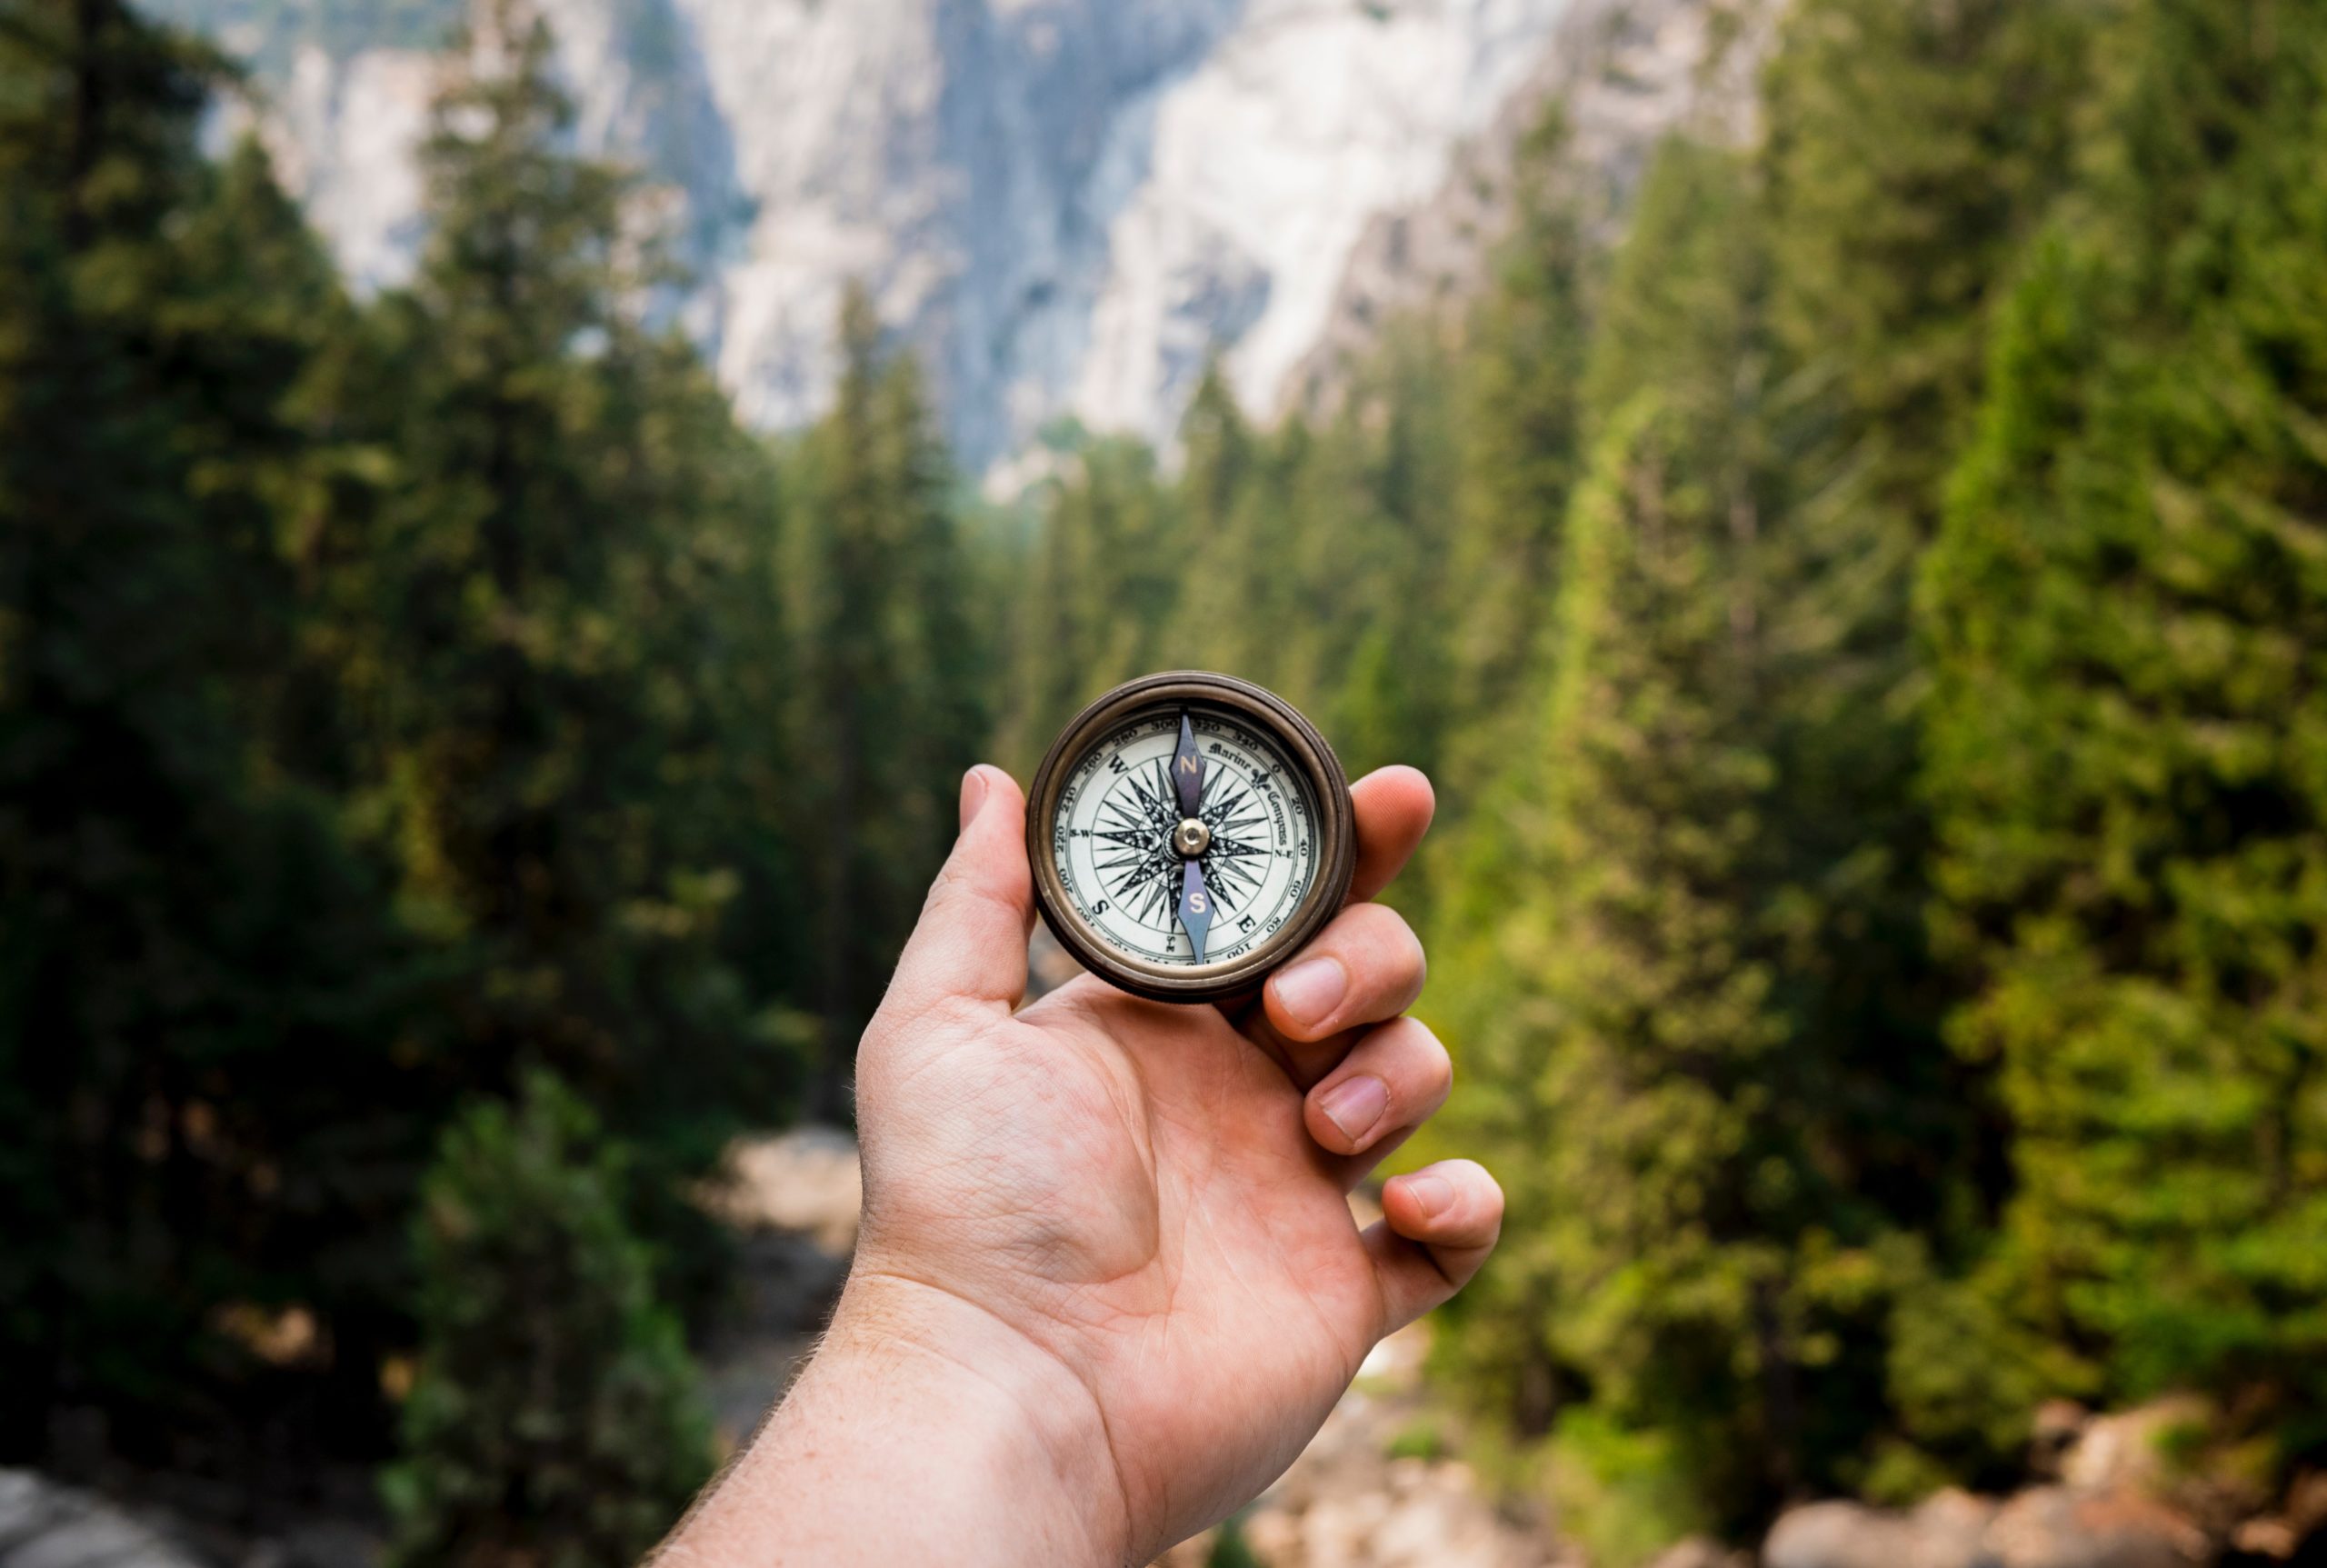
Modern compasses work on the same principle as their ancient counterparts did. They use an iron needle to find magnetic north, which is not the same as true north.
To find your bearing with a compass, you must first locate the four cardinal points: North, South, East, and West. Once you locate those points it is a matter of working out which direction to travel, based on how those points relate to where you currently are.
Guided by the silent swing of a compass needle and the simple lines of a map, you and your family can find your way deep into territory you’ve never been before and get home. All without a GPS.
Also, you’ll be able to plot a course that is right for your family that allows you to see the most scenic points.

What is Backcountry Navigation?
Backcountry navigation is the art of finding your way in nature without modern-day technology or tools that are devoted to helping you get from point A to B.
It’s more than knowing where North, South, East, and West are on a map. When you’re out there navigating by yourself, it’s all about checking landmarks, available clues, and using them to figure out where you are…and which way you should go.

The Art of Navigating with a Compass
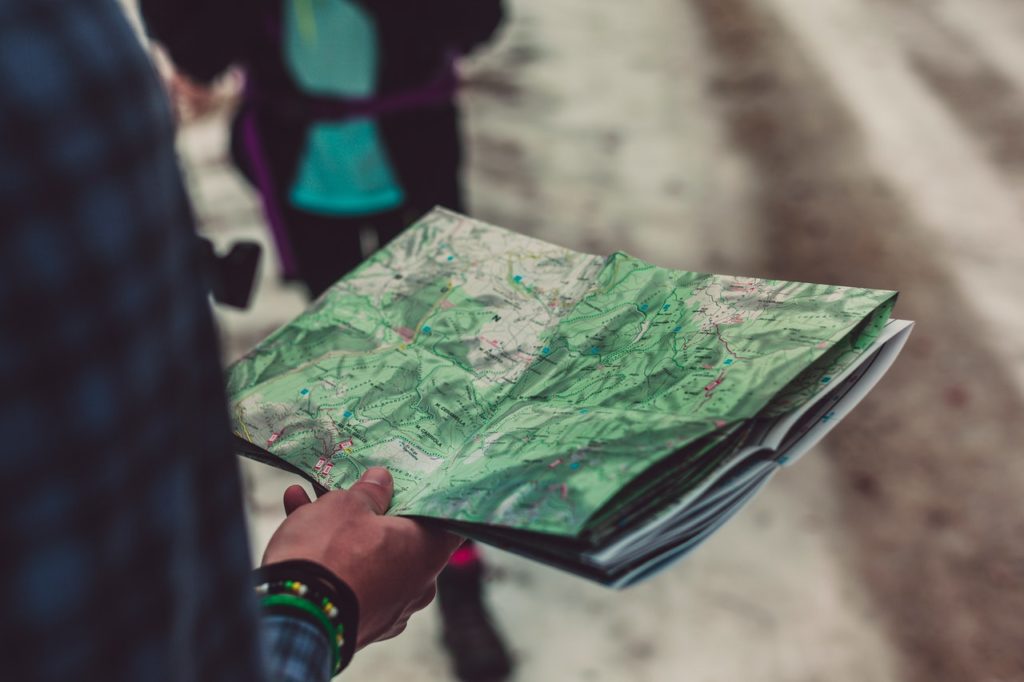
Navigation with a compass is simple if you know what to look for. The key lies in the map. Using your compass alone will only give you an idea of how many degrees off of magnetic north you are. It will not provide you with a map of the terrain around you. This is where maps come into play.
The simplest way to use your compass and map together is by lining up the headings on both and plotting out a trail that overlaps with one another so that it forms a T.
Another way is by plotting out an imaginary path in your mind that takes into account both the headings and terrain around you. This method requires more time and effort, but if done the right way it can be much faster than lining up two separate maps and crossing your fingers that you’ve aligned them correctly.
Yet another way is to align the map with a landmark then use that as a reference point to plot out your path of travel, rather than using lines on a map.
Orienteering
One thing to keep in mind is that maps are two-dimensional. This means that they may not accurately portray the rise and fall of certain areas, as well as other potential obstacles you might encounter on your journey. Remember to always orient yourself with a good landmark before heading out as well as knowing how to use it as a reference point for finding your next path.
Remember to stay on the trail and only bushwhack if you have a good reason to do it! Why? So that both you and your family can enjoy your trip more. Getting lost will take all the fun out of everything.

Types of Map Reading
There are two main ways to read a topographic map. They are the “7-sum” system, which involves breaking up most maps into seven different points of interest, and the “4-summits” method, which involves breaking it down by the four most relevant summits on your map.
First, locate the contour lines on your map. These are colored hatching that shows you different elevation points. Once you have located them, study your map for any dotted red or black lines that run through these contours.
The closer together these lines are to each other, the steeper the terrain is in the area they occupy.
Next, locate the numbers that run along the side of most maps. These are your elevation points. If you find a red line with an even number running through it, it means there is a steep drop-off in elevation from one side to another.
Conversely, if you see a black line with an odd number next to it, there is an elevation rise between the two sides.
If you come across a black line with an even number next to it, that means there won’t be any changes in elevation as you travel through that area.
Lastly, if you see a red line with an odd number next to it, this also means there will not be any elevation changes, but your terrain will be slightly steeper.
Remember that every map is different. The 7-sum and 4-summit methods are just guides that can help you along the way if you need them to.

Types of Terrain
Grassland Areas: Navigating through grasslands can often be done quicker than other terrains but is often more difficult due to the lack of landmarks available. This type of terrain is best for crossing when there are no bushes or trees in your way, otherwise, you will have a difficult time seeing where you are going and whether or not you are actually on the trail.
Mountains: Navigating through mountains should always take priority over other types of terrain. This is due to the fact that you will not be able to see where you are going, and will often get lost if you fail to bring along a map/compass with you on your journey. Terrain like this should only be navigated in groups (at least 2 people) or families.
Forests: Navigating through forests can be difficult if you are not aware of your surroundings or have no idea where the trail is located. It is often best to try and navigate around these areas unless you plan on camping within them for an extended period of time.
Hills/Slopes: Navigate hills with caution, especially if you are traveling with children. If your child should happen to fall, it is very easy for him or her to lose their footing and fall down the hill.
Streams/Rivers: Navigating through water can often be dangerous depending on its depth, so it is important to know how deep it is before attempting to cross. It is often best to walk along the outer banks of the waterways, as this will minimize any potential dangers. Remember that water flows downhill so you want to stay on higher ground if possible.
Plains: Navigating through plains can be very easy and straightforward unless there are hills/summits nearby that may cause problems with orientation. Of course, plains are also the best areas to run through.
Roads/Trails/Footpaths: Always take note of any trails that you come across. It is often best to follow these as they can sometimes lead you directly to what you seeking out (a location, a city, etc.). However, always try to follow the rule of “least effort” when it comes to traveling. If you are tired, or not interested in following the trail, don’t let this stop you from taking a more direct route towards your destination instead.
Footpaths are often marked by dirt walkways that lead directly between two places, usually showing where people have been walking for years. If you can follow one of these, it is often best to do so as they will lead you directly towards wherever you are going. If this isn’t possible, use a compass and a map to try to find the location you are traveling to instead.

Understanding Animal Trails
Animal Trails can lead to food/water if needed as well as other locations. Use a compass to find where you are going, and always keep an eye on the trail so that you know how to get back to it if needed. Remember: The sun rises in the East and sets in the West.
Pack animals (horses, donkeys, mules) can also form footpaths and will always leave markings upon their travels. You should be able to spot these markings if you know what to look for, and where to look. Horses will always have different types of hoof prints depending on whether or not they are in a group/herd or single file line, so be sure that you are looking in the correct location if trying to find any sign of them.
Pack Animals will always lead with their dominant side. Look for trails that have a freshly laid look to them – the grass is tall,/over-grown in most cases. If you pay attention to the trail, it will show you which direction they are going.
Two things to look for are Steps and Cuts.
Steps: Steps are unique markings that animals leave upon their trails, often in single file lines. This is caused by the animal’s legs hitting the ground and kicking dirt back underneath them as they walk along a trail.
Cuts: Cuts are similar to steps but different in appearance. A cut will look like a “V” shape in the dirt, caused by an animal stepping forward and swinging its leg from side to side. These markings are unique, allowing you to identify specific types of wildlife if needed.
You can typically tell what type of animal has made a trail by the depth and width of its path. Animal trails often look like a thin line from a distance, showing where a specific animal walks back and forth.
When you come across an animal trail it is important to use caution. Always try to step off to the side of the trail instead of directly on top of it. This will allow you to avoid any potential danger should the animal return while you are still on the trail.
If you plan on following an animal’s trail, it is important that you pay attention to where you are going and how much distance you intend to cover. It is easy to make a bad decision and end up lost if you aren’t paying close enough attention, so always try to be aware of your surroundings as well as any potential dangers.
Remember: Traveling should be fun and safe, so if an animal trail isn’t the best option for you, don’t hesitate to move out of the way and take a more direct path towards where you are going instead.

Ordering Maps
When ordering maps it is important to always know the scale of the map you are getting. Maps from different publishers often vary in size and look, but all should show very similar information.
The other aspect to note when ordering a map is whether or not they provide relief shading. Relief Shading refers to the height of mountain ranges and other landmarks. It can be represented by either contour lines or cliffs on the map.
The best place to order maps for backcountry navigation is the U.S. Geological Survey. They provide topographical maps for many areas around the United States.

Conclusion
While it is important to always carry a compass and map when traversing through backcountry areas it is also important to know how to navigate the natural world. Many people will argue that knowing these things isn’t needed unless you plan on doing intense backcountry travel, but I personally think that this knowledge is useful in any condition you may be in. If nothing else, knowing these things will add another level of safety when traveling through the wilds.
The ability to navigate without modern-day tools is useful in any situation. If you do decide to utilize natural navigation know that it takes practice and patience. It may feel difficult or confusing at times, but there are many different ways to help increase your skills.
